How To Sew a Tote Bag? An Easy DIY Guide
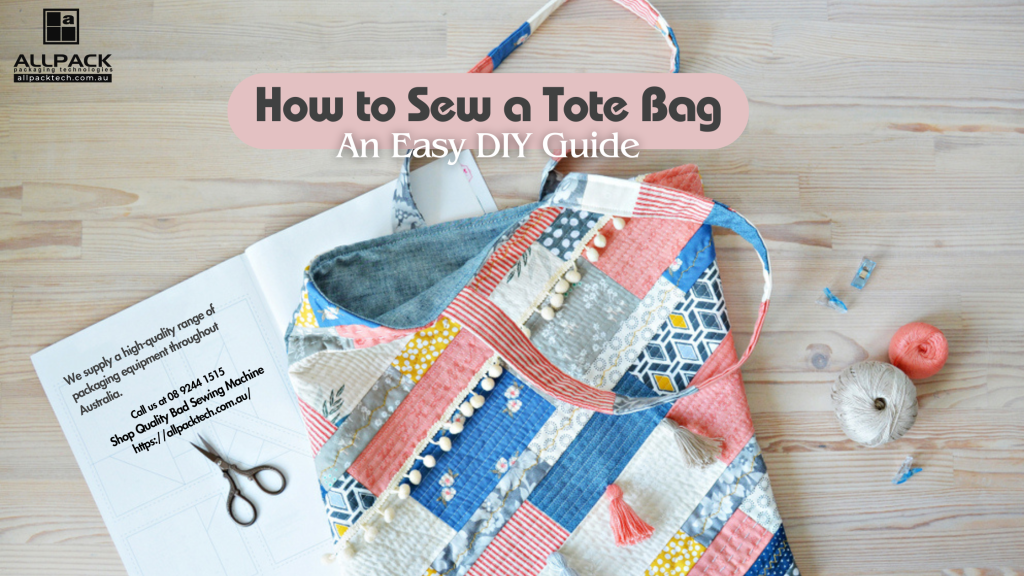
Tote bags are stylish, practical, and incredibly fun to make. Whether you’re a seasoned sewing fan or just starting out, learning how to sew a tote bag is a rewarding DIY project. With just a few basic materials, the right bag sewing machine, and your favourite fabric, you can create a functional and fashionable tote in no time.
In this guide, we’ll take you through each step. From selecting bag sewing patterns to stitching the final seam. Follow along and craft a tote bag that’s perfect for everyday use.
Materials You’ll Need to Sew a Tote Bag
Before you start, gather all the necessary tools and materials. Here’s everything you’ll need:
Material | Quantity & Details |
Canvas Fabric | 2 metres of durable canvas fabric for outer layer |
Cotton Fabric (Lining) | ½ yard of complementary cotton fabric |
Heavy Fusible Interfacing | ½ yard for extra sturdiness |
Canvas Strap | 42 inches (cut into two 21″ lengths) |
Sewing Machine & Thread | A reliable machine and matching thread |
Sewing Pins | To hold fabric pieces in place |
Fabric Scissors / Rotary Cutter | For precise cutting |
Tape Measure | Ensures accurate measurements |
Iron & Ironing Board | For pressing seams and a professional finish |
Explore about > Top 6 Best Bag Sewing Machine at Allpack Packaging Technologies
Easy Guide to Sew a Tote Bag | 9 Simple Steps
1. Cut and Prepare Your Fabric
Start by cutting two 18″ x 14″ rectangles from both your outer canvas fabric and inner cotton fabric. Then, cut two 18″ x 14″ rectangles from the fusible interfacing. For the straps, cut two 21″ long pieces from the canvas strap.
2. Shape the Tote’s Base
To give your tote bag a flat bottom, cut out a 2″ x 2″ square from the bottom corners of all your fabric pieces, including the interfacing. This step will help shape the tote and make it more structured.
3. Attach Interfacing and Sew the Outer Fabric
Iron the fusible interfacing to the wrong side of the outer fabric pieces. Follow the manufacturer’s instructions for proper adhesion. Once attached, place the outer fabric pieces right sides together and pin along the sides and bottom. Sew with a ½” seam allowance, leaving the top and the snipped-out corners open. Press the seams flat for a polished finish.
4. Create the Bag’s Flat Bottom
Take the open corner cut-outs and pinch them so the side and bottom seams align. This will create a triangle shape. Pin the edges together and sew a straight ½” seam across to create the flat base of your tote bag.
5. Sew the Lining Fabric
Repeat the same steps for the inner lining fabric. Pin the right sides together, sew the sides and bottom, and create a flat base using the same method as before. Press the seams open to ensure a smooth interior.
6. Attach the Lining and Straps
Turn the lining right-side out and place it inside the outer fabric, ensuring the right sides are facing each other. Position the canvas straps between the inner and outer fabric layers, placing each strap end 4 inches from the side seams. Pin everything together around the top edge of the bag.
7. Stitch the Bag Opening
Begin sewing a ½” seam around the top edge, securing the straps in place as you sew. Leave a 4″ gap on one side for turning the bag right-side out later.
8. Turn the Bag Right-Side Out and Press
Pull the tote bag through the 4″ gap, turning both the outer and inner fabric layers right-side out. Push the lining into place and press the entire bag with an iron to remove wrinkles and help set the seams.
9. Top-Stitch for a Professional Finish
To complete your tote bag, top-stitch around the entire opening to reinforce the structure and securely close the turning gap. This final stitch will also give your tote a neat, finished look.
Now, your handmade tote bag is ready to use. Whether you use it for shopping, carrying books, or as a stylish everyday bag, you’ve created a sturdy and practical accessory with your own hands.
Looking for the best tools to sew your tote bag like a pro?
Get High-Quality Bag Sewing Machines & Threads at Allpack Packaging Technologies
Creating a tote bag is fun, but having the right sewing machine and durable threads makes all the difference. Allpack Packaging Technologies offers top-quality bag sewing machines and premium threads to help you achieve flawless stitches and long-lasting results.
Whether you’re a beginner or an expert, our products ensure effortless sewing and professional-quality bags every time.
Explore our Top-Rated Bag Sewing Machine
Shop the Best Bag Sewing Threads Now
FAQs About Sewing Tote Bag
Is it easy to sew a tote bag?
Absolutely! A tote bag is one of the easiest sewing projects. Perfect for beginners. It mainly involves simple techniques like straight stitching, hemming, and attaching handles. With a sewing machine, some basic tools, and step-by-step instructions, you can whip up a stylish and sturdy tote bag in no time.
What are the standard measurements of a tote bag?
Tote bags typically range from 14-18 inches wide, 12-15 inches high, and 5-7 inches deep. The size depends on whether you’re making a small, medium, or oversized tote. Feel free to adjust the dimensions to fit your needs.
How much fabric do I need to sew a tote bag?
For a standard tote bag (around 12–18 inches tall and 14–16 inches wide), you’ll need:
- Outer Fabric (Canvas or Cotton): 2 metres (for durability and design flexibility)
- Lining Fabric: ½ yard (for a clean interior finish)
- Heavy Fusible Interfacing: ½ yard (for added sturdiness)
- Canvas Straps: 42 inches (cut into two 21-inch pieces)
What type of thread is best for sewing a tote bag?
Since tote bags go through a lot of wear and tear, polyester thread is the best choice. A 40 wt polyester thread works well for both construction and topstitching. Want extra durability and a more defined stitch look? Go for a thicker topstitch thread. It’ll make your stitches pop beautifully.
How long does it take to sew a tote bag?
It depends on your sewing experience! If you’re a beginner, you can finish a simple tote bag in 1 to 2 hours using a sewing machine. More detailed designs with extra pockets, linings, or embellishments might take a few extra hours or even a couple of sewing sessions. But no rush. Enjoy the process!